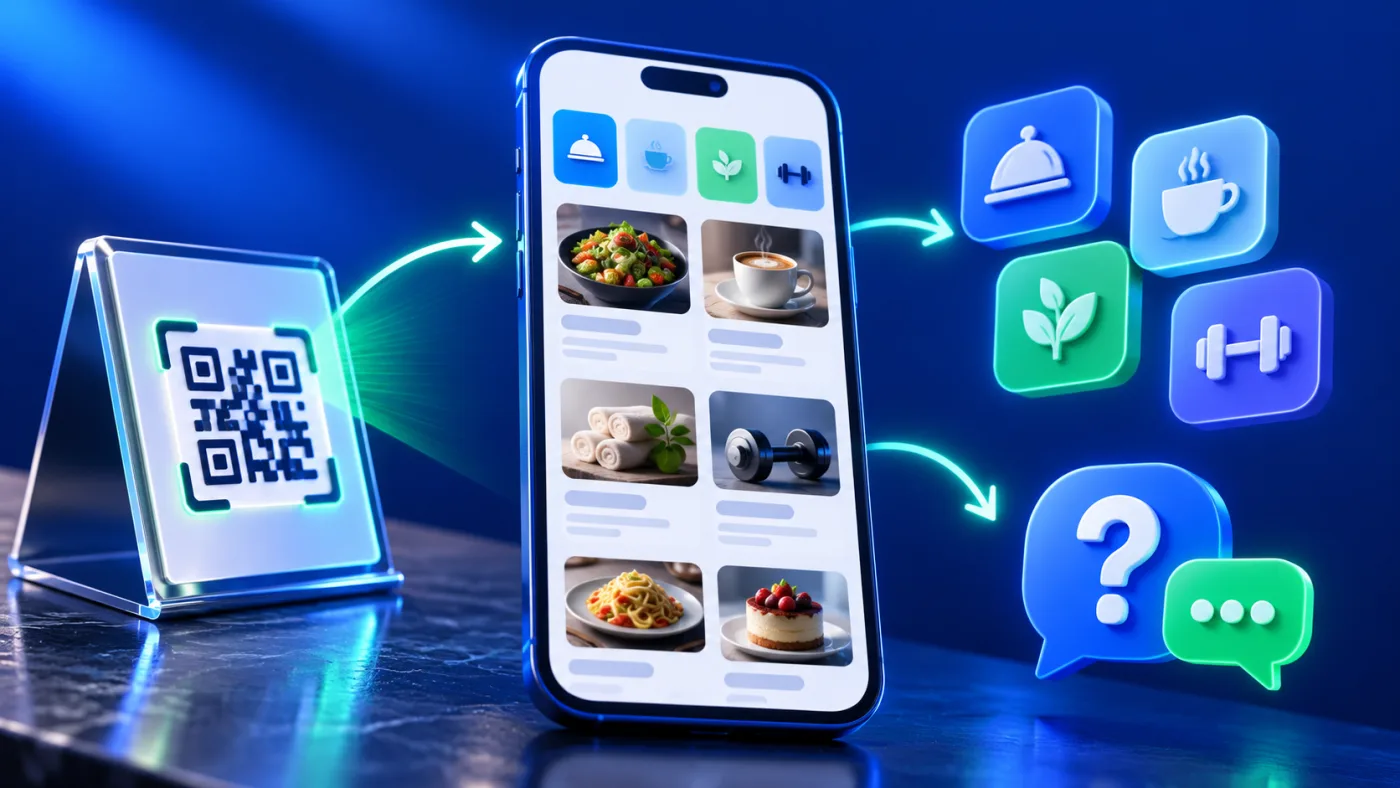

The right QR menu stand placement is the position where a guest can notice, reach and scan the code without moving table items or guessing what it opens. There is no single distance that works for every stand, table, print and phone camera. Test the finished QR display in the actual place it will be used, then adjust the angle, lighting and position based on the result.
This guide gives cafés and restaurants in the UAE a repeatable QR menu stand placement test. It does not claim that a particular ADMAL stand has a specific dimension or that every phone will scan under every condition. Use the actual printed piece, the intended destination and the room where guests will see it.
Start from the guest’s task
First decide what the person should do at that location. A guest already seated may need to notice the menu without reaching across a hot dish or another person. A visitor at a counter may need a clear place to pause while the line continues to move. A reception desk may need the display visible without blocking staff or essential directions. These are different contexts; test each position separately.
Place a temporary mock-up where you are considering the stand. Sit or stand where a visitor would, look for the code, and reach toward it as you would naturally. If another object hides the code, the stand makes the workspace crowded, or a person must move something to scan, try another position. Do not treat a tabletop QR display as a substitute for staff instructions when a visitor needs help.
Compare candidate positions with a simple matrix
Try two or three plausible positions rather than moving the stand repeatedly without recording what changed. For each position, check:
- Visibility: can a guest notice the sign from the normal approach or seated view?
- Reach: can the guest bring a phone near it without crossing another person’s space?
- Stability: does the display remain upright during ordinary table use?
- Glare: does overhead light or a reflective surface wash out the printed code?
- Obstruction: do hands, dishes, menus or decorative items cover any part of it?
- Flow: does the sign interfere with clearing, serving or the counter queue?
- Destination: does a test scan open the intended menu page?
Mark each check as pass, needs adjustment or not applicable. A small written comparison helps the team choose a position for that setting and repeat the test after the layout changes.
Keep the printed code easy for a camera to read
Check the printed QR itself, not only the link behind it. Make sure it is not cropped, bent, obscured or stretched out of shape. Preserve the clear space around the code and avoid a busy image directly behind it. DENSO WAVE explains that a QR symbol’s module size affects readability and recommends printing the modules as large as the available area allows, while considering the scanner that will be used. Scanner limits vary, so the final print still needs a real-device test.
A tabletop display may look clear to a person and still be difficult for a phone to scan because of glare, low contrast, a small print or a camera held at an awkward angle. Try the actual final artwork and print at the proposed location. Do not judge from a computer preview or from a QR image enlarged on another screen.
For final production, check that the code shown on the physical piece is the approved one and that its destination is current. Do not assume that a digital menu update changes a code printed on a stand. If the physical design changes, rescan the printed code before putting the display back into use.
Test QR menu stand placement under guest conditions
Use more than one phone if the team has access to them. Try the normal camera app on different devices, and test both a seated and standing view if guests use both. The aim is not to certify every camera model; it is to catch obvious problems in the expected setting and keep the code accessible without an unusual posture.
Repeat the test in the lighting that will actually be present. A position that scans well in bright daylight may behave differently under evening lighting or reflections. If the code fails, change one factor at a time: move the stand, change its angle, remove glare, improve the printed contrast or use a larger code area within the approved design. Then scan again from the guest’s position.
Confirm what opens after the scan
A successful scan is only the first step. Check that the page opens the correct menu, uses a clear title, and works on a phone without requiring visitors to guess which language or document to choose. Test each visible PDF or link. If the code opens a general page rather than the menu itself, make the next step obvious and keep the printed label accurate.
Do not label a QR code with an action it does not perform. If it opens a menu, describe it as a menu. Do not imply that scanning sends a message, places an order or completes a payment unless the actual destination supports that action and the visitor completes the required steps. ADMAL’s menu setup guide documents the current menu presentation fields; its digital menu guide explains the available formats.
Choose QR menu stand placement for each setting
For a table, check that the sign is visible from the seat but does not occupy the space guests need for ordinary use. For a counter, avoid a position hidden by equipment or by the next person in line. At reception, keep the code in the visitor’s sightline while leaving staff directions and forms accessible. These are starting points for testing, not fixed placement rules.
If the business uses several table layouts, choose a position that works across the common layouts and confirm it at more than one table. If one location has a different surface or lighting, test that location separately. Do not assume that one successful scan from one table proves every copy is equally visible.
Make the sign easy to approach
On a shared table, choose a side that does not make one guest reach across another person. Keep the display away from the table edge where it could be knocked over, and avoid positioning it behind a hot dish, a tall object or a barrier. Check that the stand remains stable when a guest picks it up or brings a phone near the code. If the only workable position makes the table crowded, ask whether a wall, counter or staff-assisted option suits that setting better. Do not make the sign the only way to get essential service information when some visitors may need help reaching or scanning it. A simple staff instruction or visible alternative can make the process easier without claiming the QR works for every visitor.
QR menu stand placement checklist
- Use the actual printed stand and final QR destination.
- Check visibility, reach, stability, glare and obstruction.
- Scan from a normal seated or standing position.
- Test more than one available phone in realistic lighting.
- Confirm the menu and every linked file open correctly.
- Make one adjustment at a time and scan again.
- Repeat after moving the stand, changing the print or updating the layout.
For checking the destination before a printed code is shared, see the related menu-content review and follow the current DENSO WAVE guidance on QR Code module size. Use the actual print and phones available in the intended setting as the final check.