Start an ADMAL page setup with the visitor’s task
An ADMAL page setup should begin with a visitor question, not a feature list. What should a person understand or do after they meet you, see a counter display or receive a card? A professional may want someone to recognize their role and save the right contact details. A shop may need a clear route to its review destination. A restaurant may want visitors to open a menu. A pet owner may need a finder to reach an agreed contact. These are different jobs, so avoid forcing them into one generic page.
Write the intended visitor action in one sentence. For example: “A new contact should identify my work and choose how to reach me.” Or: “A customer at the counter should find the review destination I selected.” This statement is a useful filter. If a field, button or physical item does not support that action, ask whether it belongs in the experience. Keeping the ADMAL page setup tied to that task also makes later reviews easier.
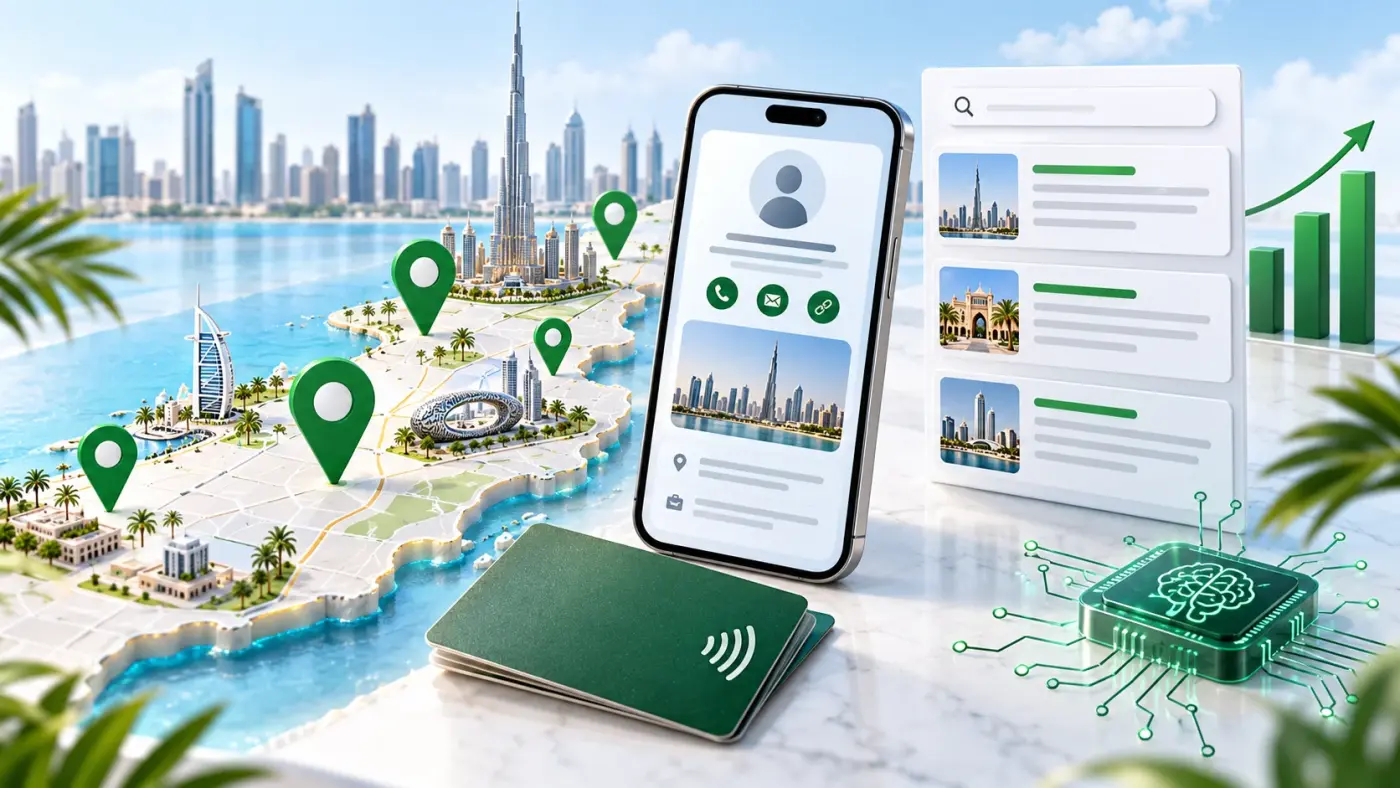
Whether your visitors are in Dubai, Abu Dhabi, Sharjah, Ajman, Fujairah, Umm Al Quwain or Ras Al Khaimah, do not start with the emirate name alone. Start with what visitors need to do, then check that the page and destination fit your audience.
Choose the page purpose during ADMAL page setup
ADMAL’s public guide distinguishes Profile / Business, Review, Menu and Pet page purposes. The exact fields and actions depend on the page type, selected style and current account setup. A profile for professional identity does not automatically function as a menu or review workflow just because visitors can open either one through a link or a physical product.
| Visitor task | Start by considering | Check before relying on it |
| Recognize a professional or business and choose a contact action | Profile / Business page | Which identity, contact and link fields appear in the selected style and account; what each button opens |
| Reach a review destination | Review experience or the exact review product | The selected destination, branch and actual product’s listed QR/NFC configuration; do not treat access as a promise of a review |
| Browse products or services | Menu page and the relevant menu product, if a physical stand is useful | Which content format is supported and what the visitor can actually open; do not assume online ordering or payment |
| Help someone contact a pet owner | Pet page and an exact listed tag, if selected | Which contact and pet fields are available; whether the chosen item uses QR, NFC or both; privacy of public details |
This is a starting map, not a promise that every account has every field or that separate products come as a package. Use it to keep the ADMAL page setup grounded in the actual account and product. Confirm the selected page, product and account directly. For a physical item, use that product’s own listing for available materials, finishes, variations and required customer files. Do not borrow another model’s options.
Decide whether the visitor needs a physical touchpoint
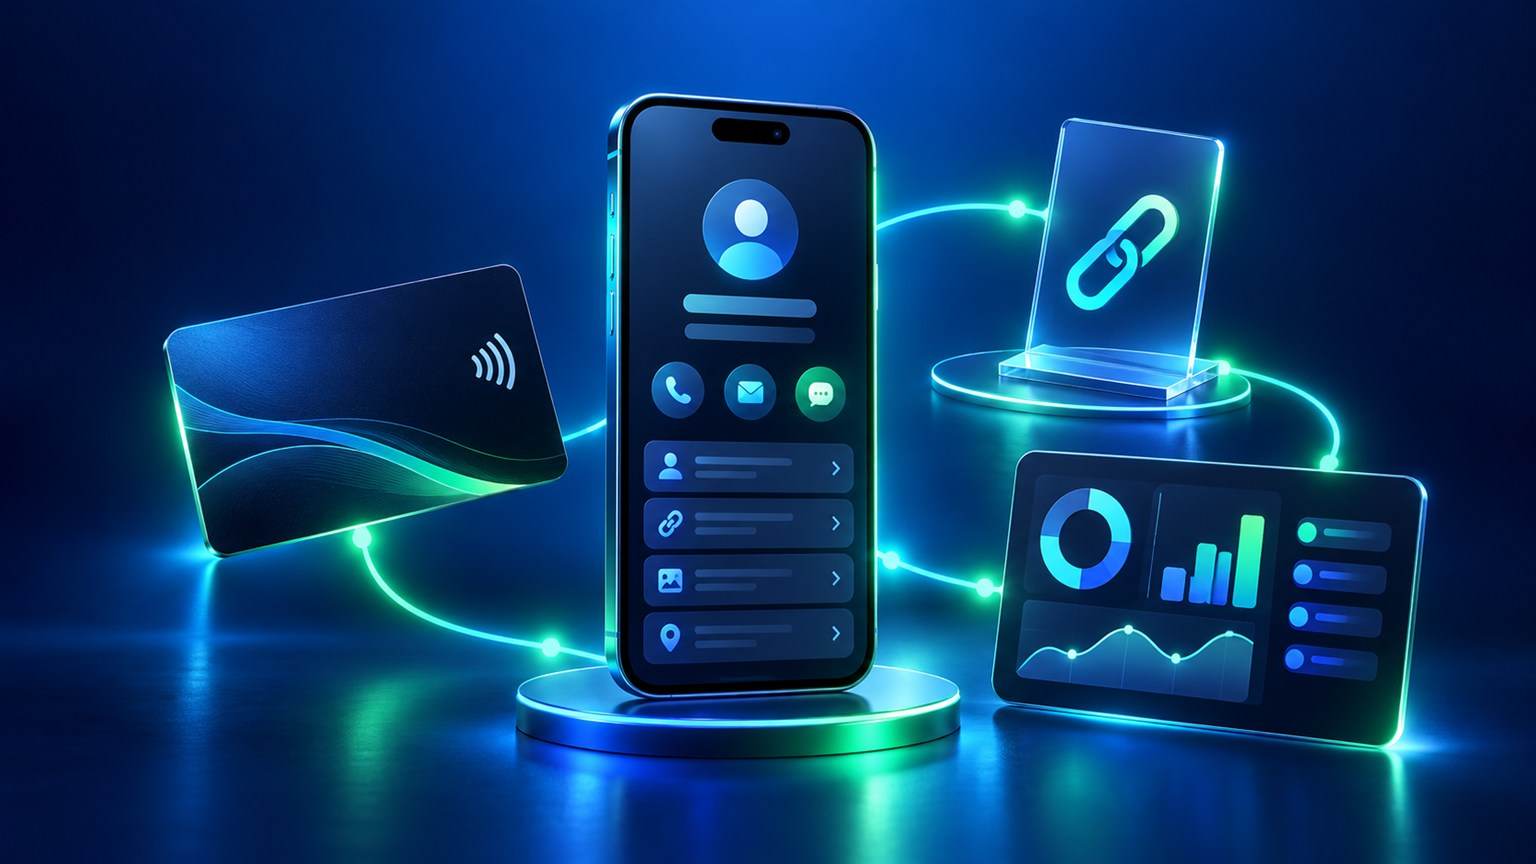
A digital page can be opened from its public destination. A physical card, stand or tag adds an object used at a particular moment: a card may be handed to a person, a stand may be placed where a customer makes a choice, and a tag may stay with an item or pet. The physical format should suit that setting. It does not change what the digital page supports, and the page type does not prove that a physical tap or scan has been tested.
If a product page lists both printed QR and NFC, treat them as separate routes during verification. The camera reads the printed QR; NFC uses a compatible phone near the specified touchpoint. Check the exact destination and test the actual finished item when it is available. A product image or promotional animation is not evidence that a specific card opened a specific page.
Before production, confirm the information that becomes part of the physical item. A printed QR destination should be reviewed before printing because the printed code itself is not an editable webpage. Ask ADMAL to confirm any product-specific approval step from the selected product workflow; do not infer one model’s process for another.
Prepare the first screen for a new visitor
Once the purpose is clear, add the information a visitor needs to recognize the page and decide what to do next. Keep the identity, role or business description focused. Use a short introduction that explains the actual work, then include only relevant contact actions, links, files or gallery content that the selected page and style support. A long list of unrelated buttons makes the next step harder to understand.
Name each action by what it does. A button that opens a phone app is not the same as a submitted inquiry. A visitor who opens a public profile has not automatically sent their details. ADMAL’s published guide describes Exchange Contact as a separate visitor-submission path when available. If you enable it, use a label that accurately describes the submission and check where the completed record is handled. Do not call a tap a lead, appointment or sale.
For clear link labels, see the W3C guidance on link purpose. Describe the destination or action so a visitor can understand it from the surrounding context.
For Arabic and English content, review each language as a visitor would see it. Confirm the text is natural, the relevant links lead to the intended language or destination, and mixed Arabic/English names and numbers remain readable on a phone. P03 explains multilingual page setup; actual rendering still depends on the chosen style and account.
Use a short setup and visitor-check sequence
- Choose one primary visitor task and write it down.
- Select the page purpose that matches it; check the actual options in the editor.
- Choose a physical product only if the intended interaction needs one, and review that model’s own listing.
- Prepare accurate text, links and any required artwork or logo file. Do not ask a visitor to rely on a destination that has not been confirmed.
- Save the page and use the available preview or public view. Check the first screen on a phone and a desktop browser.
- Open every destination. Test each contact action according to its actual behavior; distinguish a tap from a submitted form or completed conversation.
- If a QR or NFC product is part of the setup, verify each route independently on the exact item and record which route was tested.
- Share the public destination only after the identity, language and next action make sense to someone who did not build the page.
This sequence checks the experience a visitor can see. It does not prove team permissions, account-specific features, analytics event rules or business results. Use the active editor and product listing for current details, and ask ADMAL to confirm a capability when the published material does not establish it.
Illustrative example: a consultant preparing for a UAE meeting
This is an illustrative planning example, not an ADMAL customer story. A consultant wants a new contact to recognize their role, review selected professional material and choose a contact route. They begin with a Profile / Business page rather than a review or menu page. They check the fields actually available in their style, write a short service description and keep only the links relevant to the meeting.
If they choose a physical business card, they check that product’s listed finish and file requirements separately. They review the printed content and any QR destination before production. After the page is ready, they preview it as a first-time visitor, open each link, and check that contact information is current. The result is not assumed to create an enquiry; it is a checked route for a person who chooses to continue the conversation.
Common setup mistakes to avoid
- Choosing a physical product before deciding what the visitor should do.
- Assuming all ADMAL page types, styles or accounts show identical fields.
- Treating a QR scan, NFC tap, contact-button tap and inquiry submission as the same event.
- Printing a QR destination before confirming it.
- Using an example image or a generated animation as proof of a real hardware test.
- Adding features or links because they sound impressive rather than because the visitor needs them.
- Publishing another team member’s contact details without confirming that they should be public.
Questions about a first ADMAL setup
Do I need a physical ADMAL product to use a digital page? The public information distinguishes digital page experiences from physical products. Check the active service and account for the exact setup you intend to use; do not assume a physical item is included.
Which page type should I choose? Start from the visitor’s task: professional identity, reviews, a menu or pet identification. Then confirm the fields and actions available in the selected page and account.
Does every page include the same links and tools? No such assumption is safe. The published guide says page type, style and setup affect what appears. Check the actual editor.
Does someone tapping a contact button send me their information? Not necessarily. Opening a phone, email or external app is different from completing a separate submission flow. Confirm the behavior of the exact action.
Can a printed QR destination be changed after the product is made? The printed code is fixed on the physical item. Confirm the destination before production. A linked digital page and its editable content are separate from the printed code.
Does a product photograph prove NFC works? No. A photograph or animation does not demonstrate a real tap. Verify NFC and QR separately on the actual item when available.
Where should I start? Review the current ADMAL User Guide and the page or product listing that matches your task. Confirm any account-specific or product-specific question before relying on it.
Next step: Open the ADMAL User Guide and follow the section for the page type you selected.